Step 8
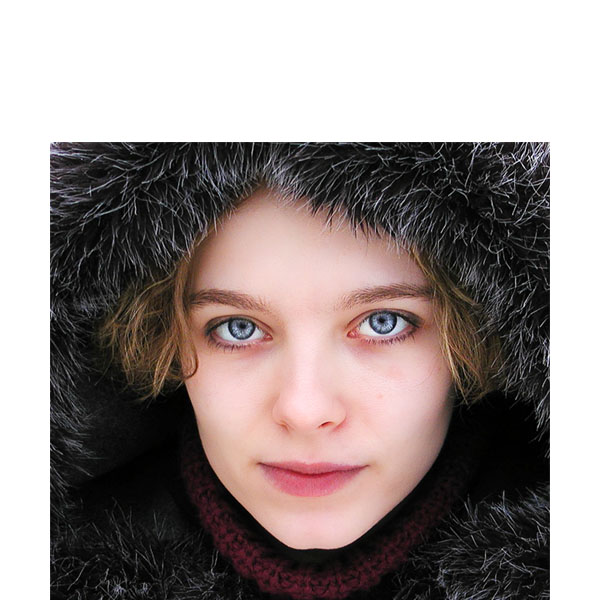
Now create a new layer above your hard light face layers and below your scales layer called ‘shadows’. Select a smallish, soft black paintbrush and set it’s opacity to 10%. Then paint over the areas of existing shadow in the woman’s face (around the eyes, under the nose, the sides of the face etc…). You could heighten the shadows a number of ways, but this way really gives you the most control.
Step 9
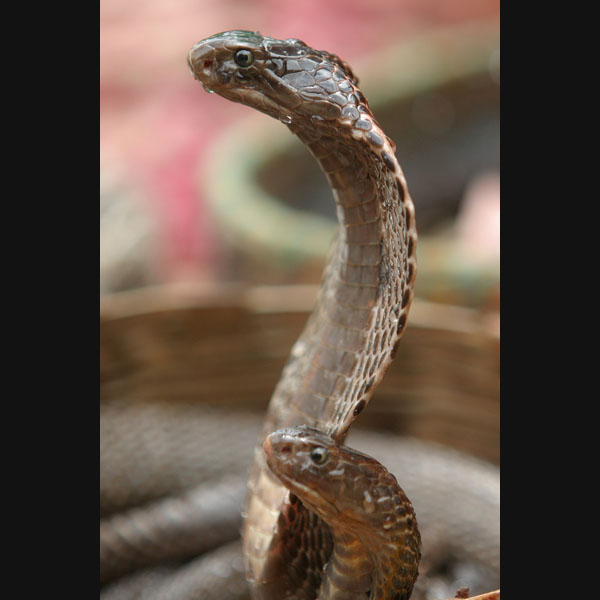
Now paste in an image of a snake. Cut the snake out very carefully using the lasso tool. By the way… this should probably be a good time to tell you that I really don’t like snakes. Dumbest idea for a tutorial ever…
Anyway, then resize/rotate the image to fit nicely onto the top of the woman’s head. Then duplicate this layer and go to edit>transform>flip horizontal. Move the flipped duplicate to be symmetrical on the other side of the woman’s head.
Step 10
Now go to image>adjustments>hue/saturation and apply the settings below to make the snakes blend in a little better with the woman’s head.
Step 11
The scales over the woman’s face are looking a little intense right now. To fix this I select a large, soft eraser brush at 10% and erase away parts of the scales to create the impression that they are gradually coming in from the sides of her face.
I also made the two snakes blend a little better with the woman’s face by first going to image>adjustments>brightness/contrast and upping the contrast. Then I reduced the saturation and darkened the layer a little.
Step 12
I repeat the same technique that I used to place the original snakes to place two new ones on a new layer above the cobras layer. Again, I reduce the saturation and play around with brightness/contrast until the images blend nicely with the rest of the image. Then I take a large, soft eraser brush and erase away the bottom of the snakes so that they appear to be growing from the woman’s head.
Step 13
Now duplicate this new snake layer and move the duplicate behind the cobras layer. The trick is to interweave the various snakes so that they appear to be part of the same mass of ‘hair’. Once you’ve moved the duplicate layer go to edit>transform>scale and then in the options bar (above your canvas) change the width/height of the object to 90%. This will resize your duplicate snakes to 90% of their original size, but will keep them centered in your canvas. Then simply move the snakes up so that they are above your original snakes. Repeat this process again, moving your second duplicate behind the first duplicate layer.
Step 14
Now I add some more snakes, trying to fit them together nicely. It would take far too long to explain the exact steps that I used to make them blend together reasonably well, so I’ll try and give a few pointers…
If an object is looking too light, then reduce it’s brightness.
If it’s looking washed out or flat then up it’s contrast.
If it’s looking too bright then reduce it’s saturation.
These are pretty basic techniques, and a lot more can be done. However, for this stage of the work it’s really sufficient to get the various photos blending together fairly well.
Step 15
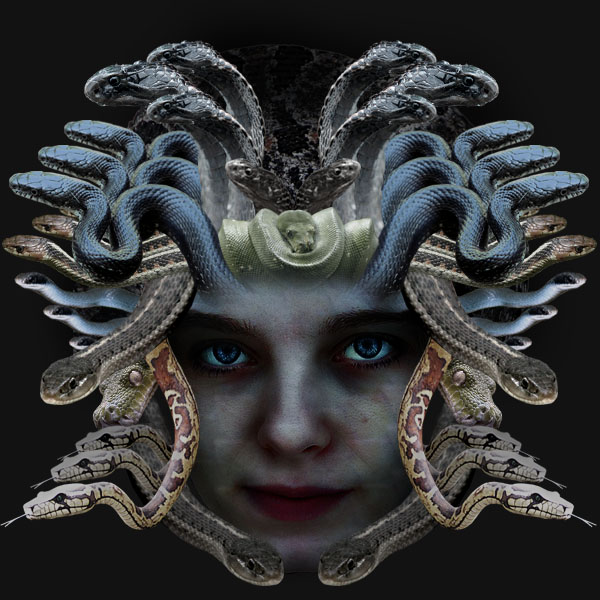
Now add a LOT more snakes. Use the same basic principles of duplicating/flipping, and then reducing saturation/brightness where necessary. Try to completely surround the woman’s face with snakes, and arrange them in a creative way, keeping track of layer orders.
Step 16
If you remember we originally created a dark gray background. Select your background layer and then fill it with solid black. If you look at the previous step’s image you will see that some of the edges of the woman’s face don’t blend well into the black background. To fix this create a new layer called ‘shadows merge’ above your face layers (and scale overlay layer). Use a small, soft black paintbrush at 10% to gently brush the edges of the face into the background. You can see an example of the areas that I blended below:
Incoming search terms:
Next: http://cs5tutorial.net/creating-medu...nipulation-p-3


 Reply With Quote


